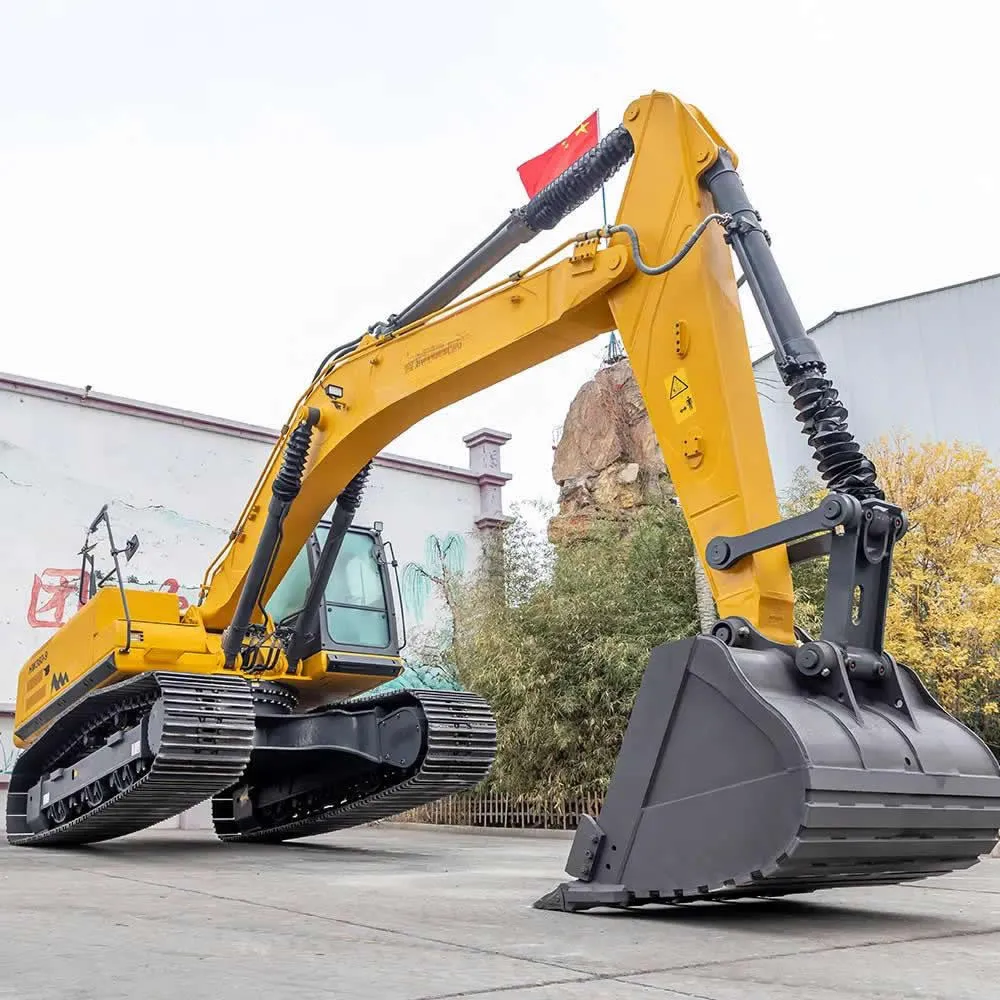
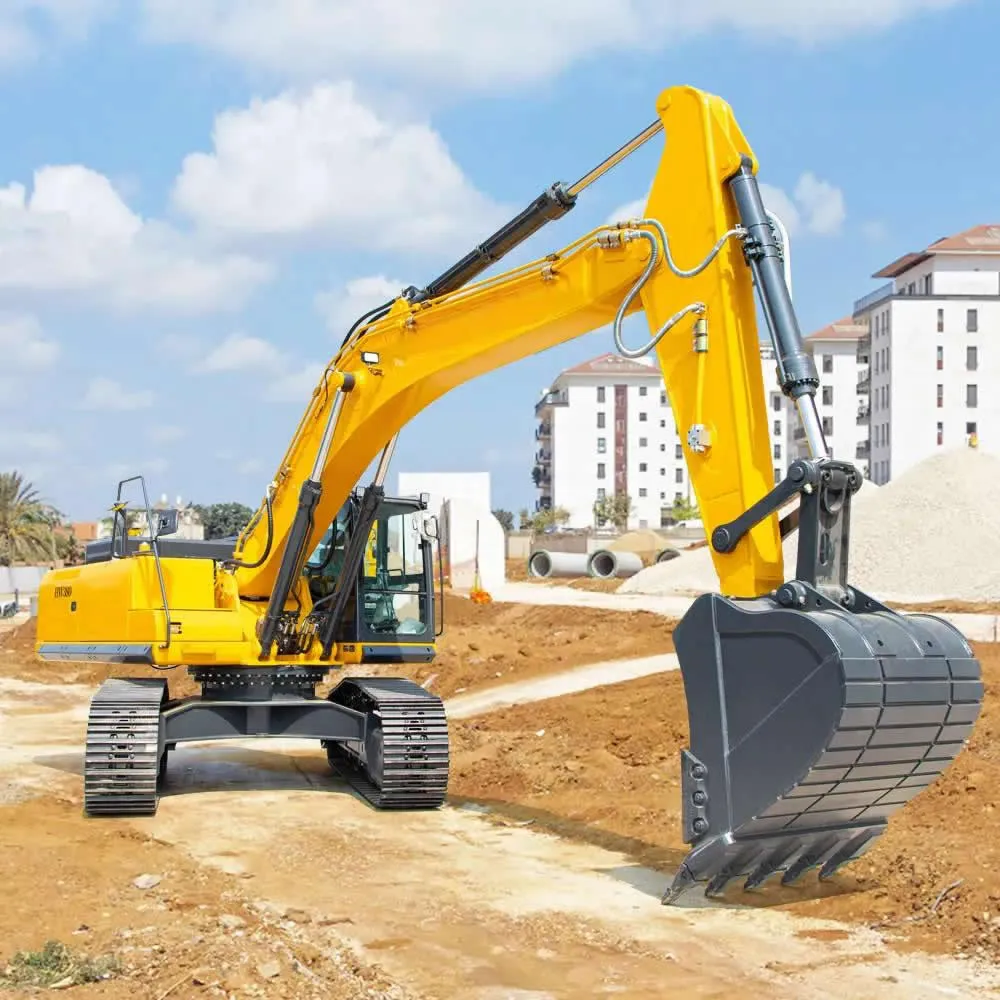
Large excavators (bucket capacity ≥ 20m³) operate for over 12 hours daily in high-intensity working conditions such as mining, quarrying, and earthmoving. The hydraulic system continuously withstands pressures exceeding 35MPa, electrical sensors respond at high frequencies, and mechanical components are subjected to impact loads for extended periods. Common faults after operation are concentrated in four core modules: the hydraulic system, power system, structural components, and electrical system. This article, based on mainstream manufacturer repair manuals and field cases, systematically outlines typical fault diagnosis paths and standardized repair procedures for the reference of frontline engineers.
The hydraulic system of large excavators is extremely precise and operates under high pressure. After heavy-duty operation, the hydraulic system has the highest failure rate.
1.1 Fault Phenomenon: Slow movement, engine stalling (speed drop), weak digging force
Fault Description: The equipment works acceptably when cold, but the movement slows down significantly after warming up, or the engine speed drops sharply (commonly known as "stalling") during heavy-duty operations such as boom lifting and bucket digging.
Troubleshooting Steps:
Pilot pressure test: Check if the pilot pump pressure is normal. If the pressure is insufficient, it will lead to insufficient opening of the main valve spool, resulting in insufficient flow.
Main pump data flow analysis: Connect an engineering diagnostic instrument and read the main pump P-Q (pressure-flow) curve. Under heavy-duty conditions, observe whether the pump's current proportional valve (PC-EPC) signal is normal to determine whether the insufficient flow is due to pump wear or incorrect adjustment by the control unit.
Main relief valve test: If the system pressure does not reach the set value (usually above 30-35MPa for large excavators), check if the main relief valve is stuck or the spring has failed.
Repair Methods:
If the main pump plunger/distribution plate is worn, grinding or replacement of the main pump assembly is required.
Clean or replace the pilot filter element and pilot gear pump.
Recalibrate the hydraulic system relief pressure.
1.2 Fault Phenomenon: Boom automatically sinking (natural descent)
Fault Description: After the excavator is shut down, the boom is lifted to the highest point, the bucket is retracted, and after a period of time, the boom noticeably lowers. Troubleshooting Approach: Differentiate between internal leakage in the hydraulic cylinder and internal leakage in the main valve.
Testing Method: Raise the boom, shut off the engine, and push the control lever to the "boom lift" position (hold it there). If the boom no longer sinks, it indicates that the internal leakage is due to wear in the main valve spool clearance; if it still sinks, it is basically determined that the boom cylinder seals are damaged.
Repair Method:
Cylinder Repair: Disassemble the boom cylinder, and replace the guide bushing, dust seal, U-ring, and other sealing components. Check the inner wall of the cylinder for scratches; if necessary, chrome plating repair or cylinder replacement is required.
Valve Group Repair: If the problem is with the main valve, disassemble the boom holding valve (regeneration valve) or the main valve spool, grind the valve spool and valve bore, and replace the seals.
High-horsepower engines are prone to problems in the intake, fuel, and cooling systems after long periods of full-load operation.
2.1 Fault Phenomenon: Engine coolant temperature is too high (overheating)
Fault Description: After several hours of continuous operation, the coolant temperature alarm sounds, and even coolant splashes out.
Troubleshooting Approach:
Cooling System Blockage: Large excavators operate in dusty environments; check if the radiator, intercooler, and hydraulic oil cooler surfaces are clogged with dust and lint.
Thermostat and Water Pump: Check if the thermostat is malfunctioning (a constantly closed thermostat will prevent proper circulation), and check if the water pump impeller is corroded.
Poor Injector Atomization: Incomplete fuel combustion can cause afterburning, leading to excessive heat load on the cooling system.
Repair Method:
Thoroughly clean the radiator surface with a high-pressure water gun or compressed air; reverse flushing is recommended regularly.
Replace the thermostat, check and replace the coolant (ensure that the coolant meets the standards to prevent scaling in the water passages).
Calibrate the injectors and check the fuel line pressure.
2.2 Fault Phenomenon: Excessive exhaust (blue smoke), rapid oil consumption
Fault Description: Engine oil drips from the exhaust pipe, or there is severe blue smoke, and the engine oil level drops significantly. Troubleshooting Steps:
Piston Ring and Cylinder Liner Wear: Prolonged heavy load operation leads to cylinder wall wear, causing engine oil to enter the combustion chamber and burn.
Turbocharger Malfunction: Check if the turbocharger seal is faulty; this is a common cause of oil burning in large excavators.
Valve Stem Seal Aging: This causes engine oil to leak into the cylinder from the valve guide.
Repair Methods:
Disassemble the cylinder head and measure the roundness and cylindricity of the cylinder bore. If it exceeds the wear limit, cylinder boring or replacement of the cylinder liner, piston, and piston assembly (four-piece set) is required.
Check the axial and radial clearance of the turbocharger rotor shaft, and replace the turbocharger assembly if necessary.
Large excavators have extremely heavy self-weight, and the impact forces in mining conditions are a critical test for the chassis and structural components.
3.1 Fault Phenomenon: Chassis Abnormal Noise, Track Derailment
Fault Description: Periodic "clicking" sound during travel, or the track easily derails from the drive wheel during relocation.
Troubleshooting Steps:
Check if the track link pins are worn to the limit (leading to track pitch elongation).
Check if the bearings and oil seals of the idler, support rollers, and carrier rollers are damaged (leading to oil leakage and abnormal noise).
Check if the tensioning device's buffer spring is broken or has lost its elasticity.
Repair Methods:
Replace worn track plates and pins. For track plates with severe wear on only one side, consider flipping them over for use (depending on the structure).
Replace damaged components in the "four wheels and one circle" and add special grease.
Replace the tensioning cylinder seals, reinject grease, and adjust the tension (tension standard: the gap between the carrier roller and the track plate is usually 10-20mm, depending on the model).
3.2 Fault Phenomenon: Working Device Cracking, Pin Hole Abnormal Noise
Fault Description: Cracks appear at the base of the boom and the connecting point of the dipper stick, or a metallic friction sound is emitted from the pin shaft rotation point.
Repair Methods:
Crack Repair: Welding procedures must be strictly followed. First, drill stop holes at the ends of the cracks, use carbon arc gouging to prepare the bevel, and then perform preheating and welding using the corresponding low-hydrogen welding rods. After welding, perform heat treatment to relieve stress. Direct overlay welding on the crack surface is strictly prohibited.
Pin Hole Repair: For worn pin holes, the method of boring and inserting a bushing can be used to restore the standard size. Directly enlarging the hole and using an oversized pin is strictly prohibited, as this will weaken the structural strength.
Modern large excavators have complex electronic control systems, and vibration and moisture are the enemies of electrical components.
Fault Symptoms: Garbled display on the instrument panel, intermittent engine stalling.
Troubleshooting Approach:
Wiring Harness Wear: Check the engine wiring harness and main pump wiring harness for wear and short circuits where they pass through frame holes.
Sensor Failure: Check if the crankshaft position sensor and fuel pressure sensor connectors have poor contact or have accumulated metal shavings.
Relay Box Corrosion: Check if water vapor has entered the fuse box, causing oxidation.
Repair Method:
Use a multimeter to measure continuity and voltage to identify short circuits.
Wrap damaged wiring harnesses and add corrugated tubing for protection.
Replace damaged sensors, clean the connector contacts, and apply conductive paste.
As maintenance engineers, when facing large excavator malfunctions, we must avoid a superficial approach. The four-word mantra of "listen, look, touch, and measure" is our fundamental skill. After working in harsh conditions, we must not only focus on the faults that have occurred but also analyze the potential hidden dangers through the fault symptoms.
Maintenance is not just about replacing parts, but also about managing the entire life cycle of the equipment. We hope that the troubleshooting experience shared in this article will provide strong support for our colleagues in their future maintenance work, allowing our "steel giants" to continue to thrive.

